Having a working horn is important for rather obvious safety reasons. If your horn is not working, performing some diagnostic tests Honda Key Programming tool could help you find the problem and get you on the road to fixing it.
Step 1: Check the Fuses
Go into the power center or fuse box and check for blown fuses. Your Honda manual will have a diagram of where to find the fuse box or power center. It will also tell you exactly which fuse connects to the horns. A blown fuse will have a broken filament. If there is no sign of a blown fuse, let’s move on to check other parts of the car for signs of a circuit short.
Step 2: Try and Identify Electrical Shorts
The best places to check for circuit shorts and breaks are the horns, the battery, and the relay. Test the continuity between all of these to make sure all parts are working. Any faulty wiring, fuses, and relays should be replaced as needed.
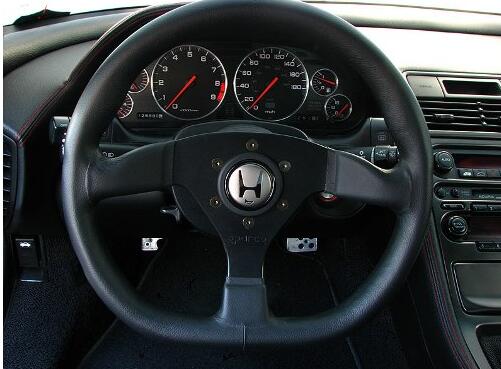
Step 3: Check the Horn Itself
From there, we need to check the functionality of the horn buttons on the steering wheel. To do this, you will need to disassemble the steering wheel column. Be aware that this may cause the air bags to go off automatically. You will find the relay behind the air bag or somewhere in the area surrounding the air bag. Test continuity here to check for wiring communication problems.
Step 4: Direct Test
You can also directly test the horns themselves, though the Key Programming is rarely the problem. Check your car manual for procedures of how to do this. Many cars will allow you to connect two wires from the battery terminal to the horns. However, it is better to follow specific procedures laid out by Honda as every vehicle is different.
If you are still unable to find the source of your horn woes, it is time to take it to a mechanic. Fortunately, these problems are not labor-intensive and can usually be completed within a few hours