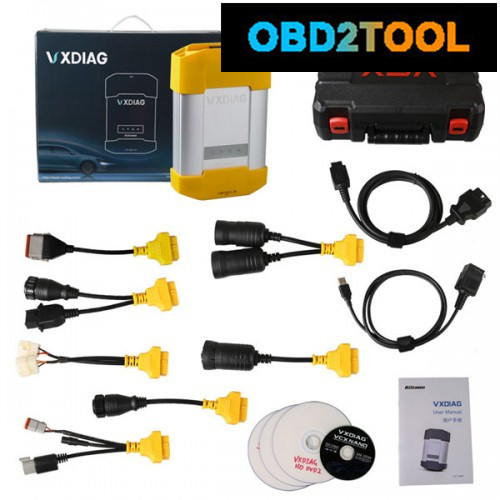
Allscanner VXDIAG VCX-HD is PC-to-vehicle interface compatible with multiple heavy duty OEM software applications, minimizing your investment in multiple brand-specific diagnostic interfaces.
Supported Protocols and Standards
RP1210 Protocols
* J1939
* J1708 / J1587
* CAN
* J1850 (VPW – GM)
* ISO15765
* ISO9141 / KWP2000
* ALDL
J2534 Protocols
* CAN (Raw CAN)
* J1850 VPW (GM Class II)
* ISO 15765-4
* GMLAN (HSCAN, SWCAN)
* ISO 14230 (KWP2000)
* ISO 9141-2
* J1708/J1587
* J1939
Standards
* TMC RP1210B
* TMC RP1210A
* SAE J2534
* SAE J1979
* VEPS J2214 / J2461
* CE Compliant
* FCC/IC Certified
Other Protocols
* GMLAN
* J2284 (CAN @500k)
* J2411 (GM SWCAN)
* ISO9141 / KWP2000
* ALDL
RP1210 OEM Diagnostic Software Compatibility
RP1210A compliant and should work with any RP1210A compliant application. It has been thoroughly validated against the following OEM and component applications:
* Allison DOC
* Bendix ACOM
* Caterpillar Electronic Technician
* Cummins Insite
* Cummins PowerSpec
* Detroit Diesel Diagnostic Link
* Detroit Diesel Reprogramming Station
* Eaton ServiceRanger
* Freightliner ServiceLink
* International Diamond Logic Builder
* International InTune
* International Master Diagnostics
* International ServiceMaxx
* Mack VCADS/PTT
* Meritor-WABCO Toolbox
* Volvo VCADS/PTT
* ZF-Meritor TransSoft
Configuring Applications to Use the Allscanner VXDIAG VCX HD. The following examples show how to select your VCX HD device using the USB cabling method.
Allison DOC 8.0.0
* Start program.
* Click Connect to Vehicle.
* Select the Correct Transmission Type.
* Uncheck Smart Connect.
* Click Connect.
* Click Advanced Setup.
* Select vendor of VCXRP32 Single Application.
* Select protocol of J1939 or J1708.
* Select correct device of VXDIAG, USB
* Click OK.
Bendix ABS Diagnostics 6.3 v1.2.19.1
* Start program.
* Click on Communication device options, A. Select RP1210, A Device Using J1708 Line: VXDIAG (VXDIAG, USB)
* Click OK.
Caterpillar Electronic Technician 2014A
* Start Program.
* Click Utilities ? Preferences ? Modify
* Click on Communication Interface Device dropdown box.
* Select Caterpillar Comm Adapter 3 (RP1210) or Caterpillar Comm Adapter II (RP1210)
* Click OK
Cummins Insite 7.6.0.272
* Start Program.
* Click on File ? Connections ? Add New Connection.
* Click Next.
* Select RP1210 Adapter, click Next
* Select Vendor of VXDIAG and Adapter of VXDIAG, USB, and protocol you want to use, J1708/J1939.
* Click Next and a Connection Name screen appears.
* Click Next and a screen prompts you to indicate whether you want to make this connection active or set up another connection.
* Click on make this connection active.
* Click Finish
Detroit Diesel Reprogramming System 07.09.2013
From Windows Start Menu
* Start ? Programs ? Detroit Diesel ? Reprogramming System ? SID configure
* Select VXDIAG, USB
* Click OK.
From Inside DDDL
* Tools ? Options ? Connections Tab ? SID Configure. 2. Select VXDIAG, USB.
* Click OK.
Eaton ServiceRanger 3.x 3.2.2.1037
* Start Program
* Click Eaton ? ServiceRanger 3 ? Tools . ?Settings ?Connection
* Under Communication Driver Information
* Select VXDIAG, USB for both the J1587 and J1939 device.
* Click OK.
Electronic Service Analyst 4.2.0.142 ESA (Kenworth/Peletbilt)
* Start Program
* Click ESA ? Tools . ?Admin
* General ?Manufacturer ?DLA
* Select NEXIQ USB-Link
* Click OK.
Freightliner ServiceLink 4.93.408.0
* Start ServiceLink Offline
* From the top menu bar, choose Admin.
* From the left menu bar, choose Vehicle.
* Click on Show All Devices.
* In the Vendor box, choose VXDIAG Single Application.
* Select VXDIAG, USB in the J1939 and J1708 drop down items.
* In the CAN Device item, select the Configure button and choose VXDIAG, USB from the SID Configuration window.
* Click Save Settings.
Hino Diagnostic eXplorer 3.1.2
* Start Hino Diagnostic eXplorer
* Diagnosis-login to input Password which you setup during software installation, click OK
* Click Option(S), select communication (A), select VXDIAG, to click Config.exe
* Click OK
Hino Reprog Manager* 3.1.2
* Start Hino Reprog Manager
* Reprogram-login to input Password which you setup during software installation, click OK
* Click Option(S), select communication, select VXDIAG, to click Config.exe
* Click OK
International Truck and Engine
Diamond Logic Builder (DLB) 5.2.0.0
* Start MD32 DLC.
* Choose File ? MD Settings? COM Device
* Select VXDIAG? VXDIAG, USB
* Click OK
Master Diagnostics (MD Fleet) 5.2.0.0
* Start MD32 3BX
* Choose File ? MD Settings? COM Device
* Select VXDIAG? VXDIAG, USB
* Click OK
Diamond Logic Controller II 5.2.0.0
* Start MD32 DLCII.
* Choose File ? MD Settings? COM Device
* Select VXDIAG? VXDIAG, USB
* Click OK
Meritor-WABCO ABS Toolbox 8.0.0
* Start Meritor WABCO PC DIAGNOSTICS
* Click System Setup; then select COM Port.
* Select VXDIAG Single Application; the protocol to use is J1939 or J1708.
* Select VXDIAG, USB and click OK.
PERKINS OF EST 2010B v1.0
* Start Electronic Service Tool
* Click Utilities to select Preferences
* Click Communications to select RP1210 Compliant Device, then to click Advanced to select VXDIAG, USB (1)-VXDIAG
* Click OK.
Volvo/Mack Premium Tech Tool (PTT) 1.12
* Start Program, input User ID of m333422 or m311331, select Work offline, and click OK
* Select Settings from the PTT menu.
* Go to the Communication Units configuration tab, select RP1210B adapter
* Click OK