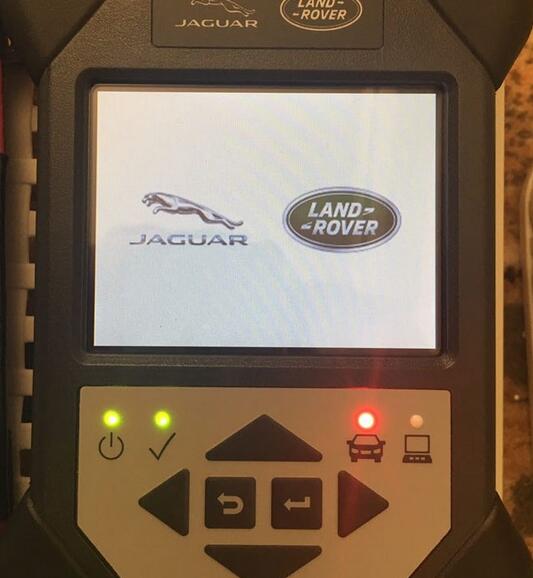
Original Jaguar Land Rover diagnostic tool JLR DoiP VCI supports both USB and WiFi connection. Here’s the guide to configure the LAN setting.
Procedure:
Connect Auto Scanner Tool JLR DoIP VCI W-F interface with vehicle
Connect the other end of VCI with laptop via USB cable
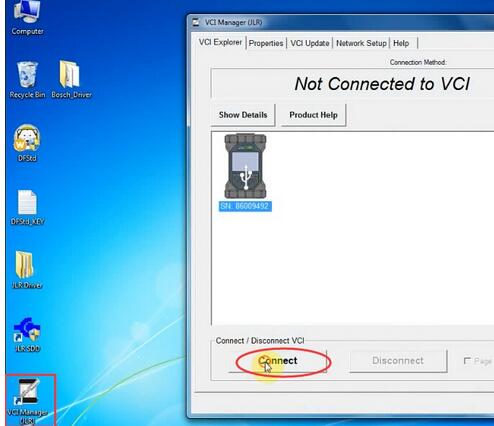
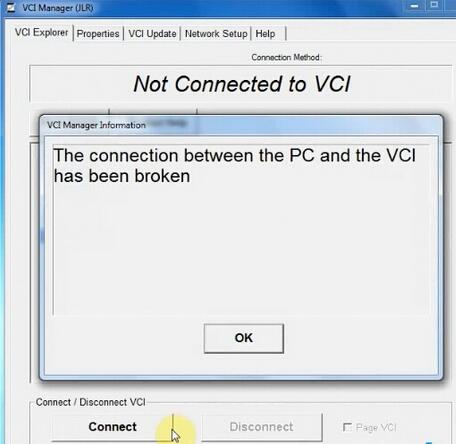
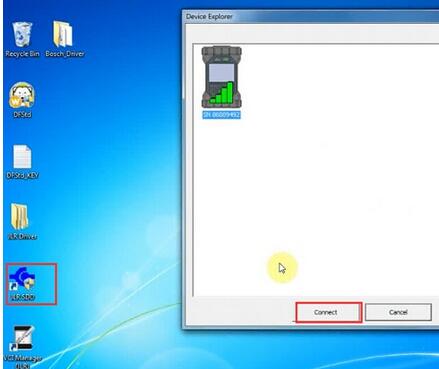
Open VCI Manager (JLR), press Connect
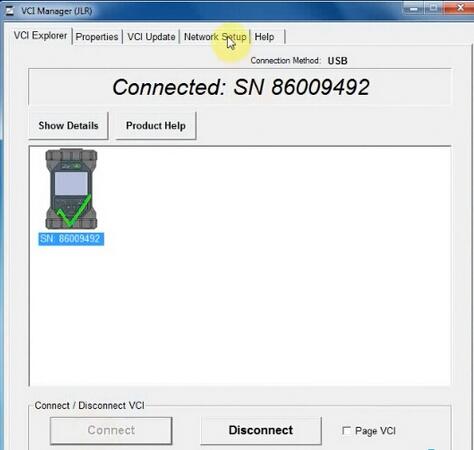
Choose Network Setup tab->Wired Etherent
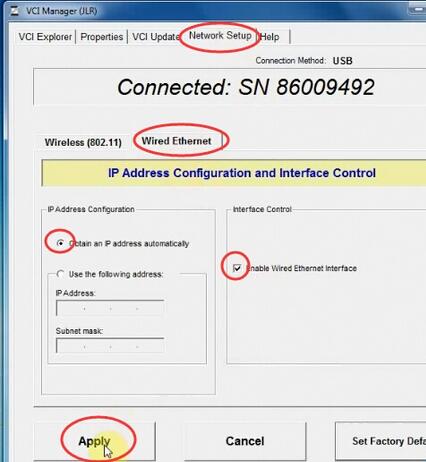
Tick Enable Wired Etherent Interface
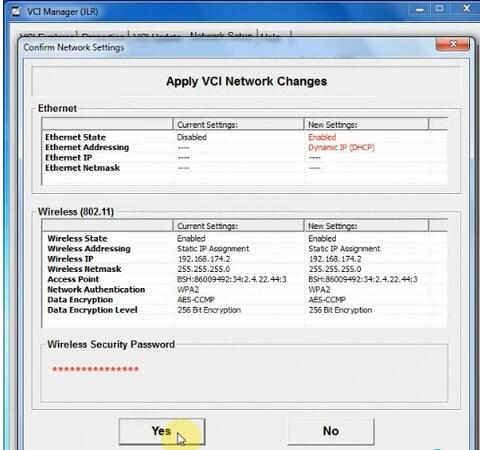
Press Apply button and Yes
Then disconnect USB connection
Close VCI Manager
Open VCI Manager again
Press Connect
Go to Network Setup->Wired Etherent
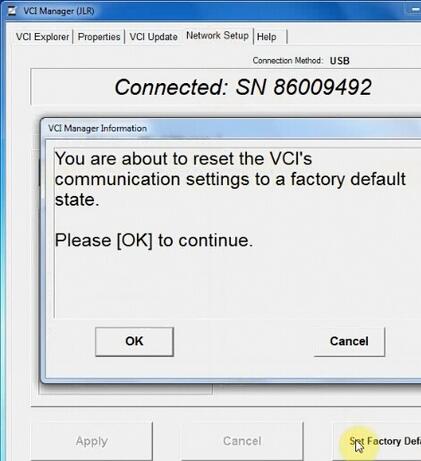
Press Set Factory Default
Press OK if system prompts you are about to reset the VCI communication settings to a factory default state.
Enable network connection
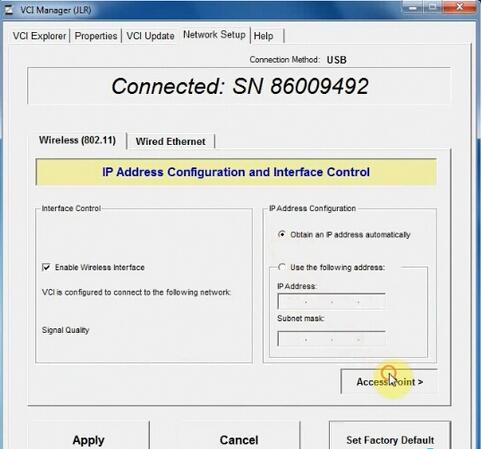
Press Set Factory Default again
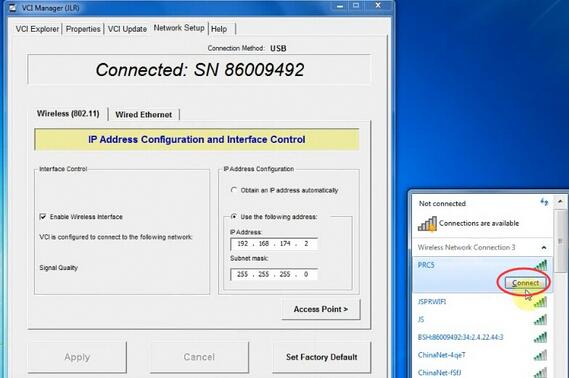
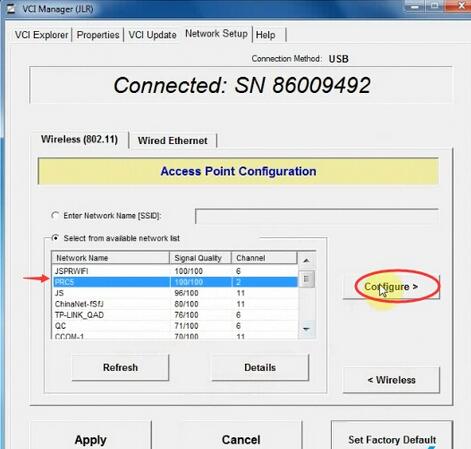
In Wireless (802.11), choose Obtain an IP address automatically, then press Access Point
Choose Wireless resource which is the same as the your network
Press Configure
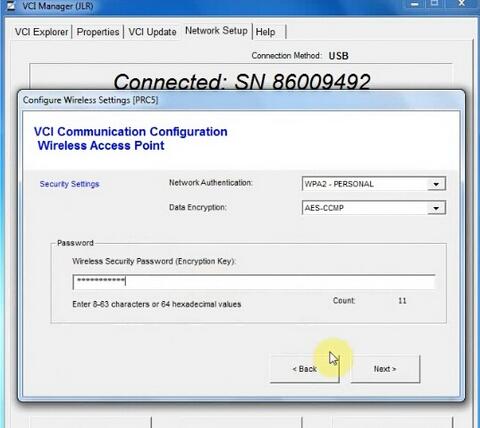
Enter wireless security password (encryption key)
Press Next
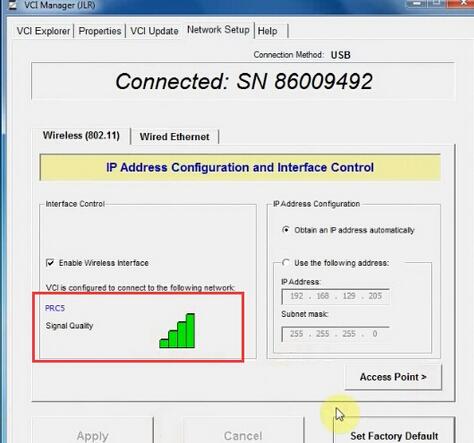
JLR VCI is configured to connect to your network
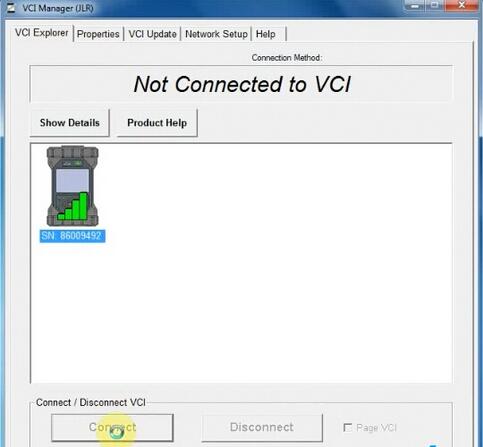
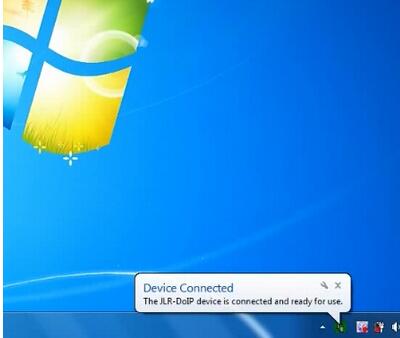
Disconnect and then Connect VCI
It shows WiFi connection is done
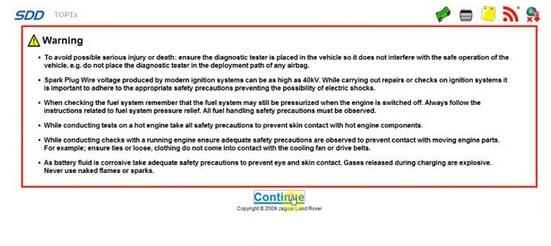
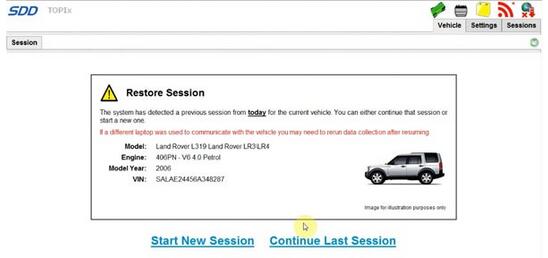
Open JLR SDD software on desktop
Press Connect
